


11 November 2023
How to install Wordpress in a VPS

Hello, all This is a start up tutorial for newbie only. Today I will try to show a small tutorial about new VPS setup with WordPress.
1st you need a vps with Root access . (no need any control panel)
STEP 1: INSTALL REMI/EPEL REPOSITORY
Use one of below commands as per your OS version and system architecture. CentOS/RHEL 6, 32 Bit:
rpm -Uvh http://download.fedoraproject.org/pub/epel/6/i386/epel-release-6-8.noarch.rpm
rpm -Uvh http://rpms.famillecollet.com/enterprise/remi-release-6.rpm
CentOS/RHEL 6, 64 Bit:
rpm -Uvh http://download.fedoraproject.org/pub/epel/6/x86_64/epel-release-6-8.noarch.rpm
rpm -Uvh http://rpms.famillecollet.com/enterprise/remi-release-6.rpm
CentOS/RHEL 5, 32 Bit:
rpm -Uvh http://dl.fedoraproject.org/pub/epel/5/i386/epel-release-5-4.noarch.rpm
rpm -Uvh http://rpms.famillecollet.com/enterprise/remi-release-5.rpm
CentOS/RHEL 5, 64 Bit:
rpm -Uvh http://dl.fedoraproject.org/pub/epel/5/x86_64/epel-releas5-4.noarch.rpm
rpm -Uvh http://rpms.famillecollet.com/enterprise/remi-release-5.rpm
STEP 2: INSTALL APACHE
After adding EPEL and Remi repository in vps. Lets use following command to install latest available Apache package.
yum --enablerepo=remi install httpd
After installing Apache, start Apache service using following command and enable auto start on system reboot.
service httpd start chkconfig httpd on
STEP 3: INSTALL MYSQL
Lets install MySQL server and client using yum package manager with following command.
yum --enablerepo=remi install mysql mysql-server
After installing MysQL server packages, start the service and execute following command for applying initial security.
service mysqld start
/usr/bin/mysql_secure_installation
NOTE: RUNNING ALL PARTS OF THIS SCRIPT IS RECOMMENDED FOR ALL MySQL SERVERS IN PRODUCTION USE! PLEASE READ EACH STEP CAREFULLY!
In order to log into MySQL to secure it, we'll need the current password for the root user. If you've just installed MySQL, and you haven't set the root password yet, the password will be blank, so you should just press enter here.
Enter current password for root (enter for none): OK, successfully used password, moving on...
Setting the root password ensures that nobody can log into the MySQL root user without the proper authorization.
You already have a root password set, so you can safely answer 'n'.
Change the root password? [Y/n] y New password: Re-enter new password: Password updated successfully! Reloading privilege tables.. ... Success!
By default, a MySQL installation has an anonymous user, allowing anyone to log into MySQL without having to have a user account created for them. This is intended only for testing, and to make the installation go a bit smoother. You should remove them before moving into a production environment.
Remove anonymous users? [Y/n] y ... Success!
Disallow root login remotely? [Y/n] y ... Success!
By default, MySQL comes with a database named 'test' that anyone can access. This is also intended only for testing, and should be removed before moving into a production environment.
Remove test database and access to it? [Y/n] y - Dropping test database... ... Success! - Removing privileges on test database... ... Success!
Reloading the privilege tables will ensure that all changes made so far will take effect immediately.
Reload privilege tables now? [Y/n] y ... Success!
All done! If you've completed all of the above steps, your MySQL installation should now be secure.
Thanks for using MySQL!
Cleaning up...
STEP 4: INSTALL PHP
After comleting installation of Apache and MySQL finally we need to install PHP. Use the following command to install latest PHP version.
yum --enablerepo=remi install php php-common
Also install required PHP libraries used for your application, Few of useful libraries are listed below.
yum --enablerepo=remi install php-common php-cli php-mysql php-devel
STEP 5: START SERVICES
Finally start Apache and MySQL services using following commands and setup them to auto start on system boot.
service httpd restart chkconfig httpd on service mysqld restart chkconfig mysqld on
STEP 6: DOWNLOAD WORDPRESS
Download WordPress archive file using wget command
cd /var/www/html wget http://wordpress.org/latest.tar.gz
Extract archive in document root of you domain and update permissions on files.
tar xzf latest.tar.gz chown -R apache.apache wordpress chmod -R 755 wordpress
STEP 7: CREATE MYSQL DATABASE AND USER
After extracting code we need to create a mysql database and user account for configuring WordPress. Use following set of command to do it
mysql -u root -p Enter password:
mysql> CREATE DATABASE wordpress;
mysql> GRANT ALL ON wordpress.* to 'wordpress'@'localhost' IDENTIFIED BY 'secret_password';
mysql> FLUSH PRIVILEGES; mysql> quit
STEP 8: CONFIGURE APACHE VIRTUALHOST
Edit apache configuration file and add a new virtual host for WordPress setup like below.
nano /etc/httpd/conf/httpd.conf
Add following setting at end of file
ServerAdmin webmaster@wordpress.yourdomain.com

DocumentRoot /var/www/html/wordpress

ServerName wordpress.yourdomain.com

ErrorLog logs/wordpress.yourdomain.com-error_log

CustomLog logs/wordpress.yourdomain.com-access_log combined
Reload Apache service to read configuration file again.
service httpd reload
STEP 9: FINISH INSTALLATION USING WEB INSTALLER
WordPress provides an web installer for easy to setup WordPress without editing files manually. After completing above steps just point your browser to your domain.Open URL in Browser and Click on Create a configuration file. That’s all !!
- Share:
-
Recent Post
Follow us
Related Blog Post
Create, collaborate, and turn your ideas into incredible products with the definitive platform for digital design.
12 December 2022
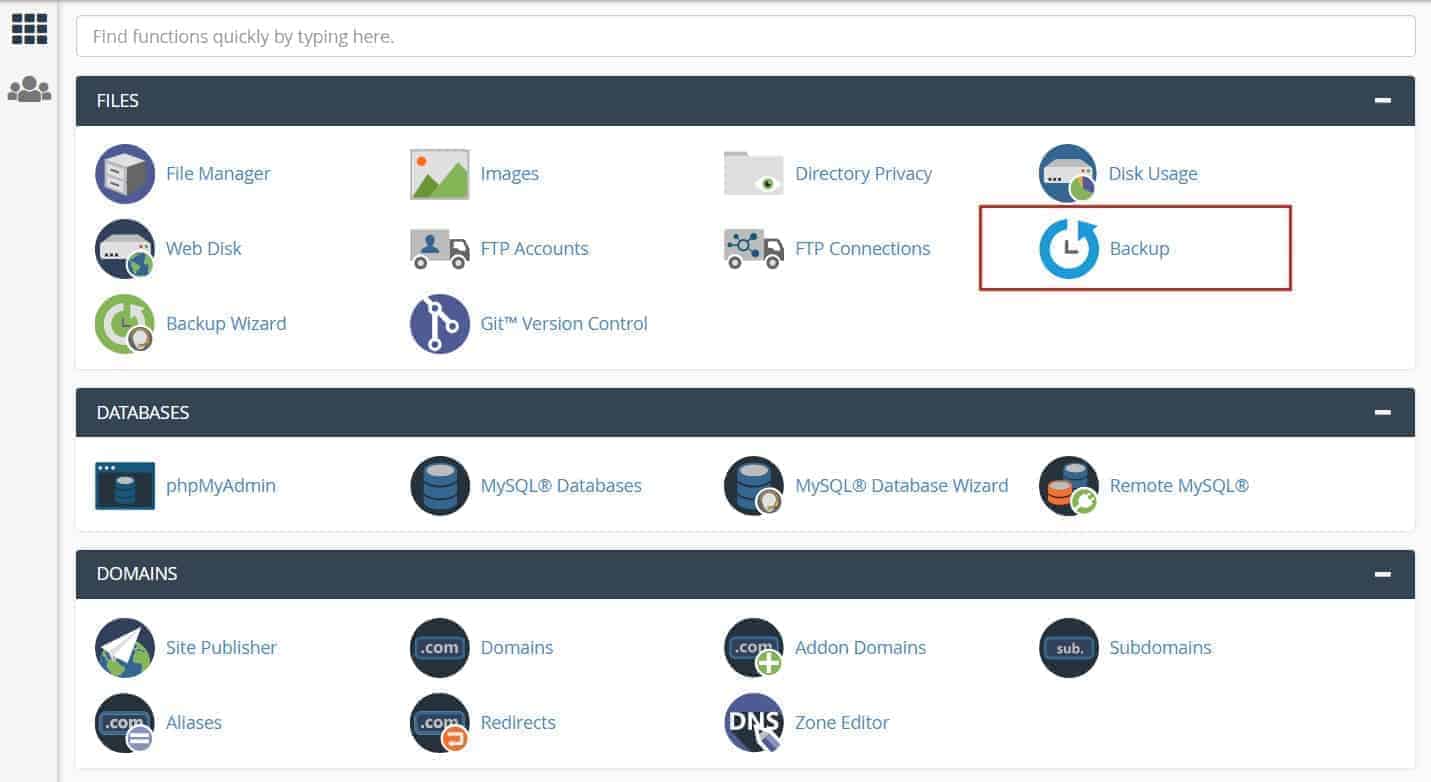
How to create cPanel backup from command line
This article explains how you can create cPanel backup from the command line, using your own username and password.
12 December 2022
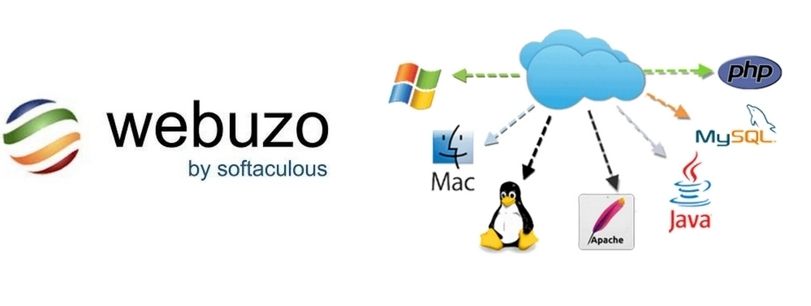
How to install Webuzo Panel on linux Server
Webuzo is a popular alternative to cPanel, a widely used web hosting control panel developed by cPanel, Inc.

02 February 2022
What are NFT Domains?
NFT domains are new web extensions that are deployed using ERC 721 and Polygon Network, except .zil which uses Zilliqa.
01 January 2022
How to Delete a MySQL® Database
This document describes how to manually delete a MySQL® database from a cPanel & WHM server. This is useful if, for exa

11 November 2021
How to get Transfer Authorization Code from GoDaddy
To transfer your domain with us then must need EPP Code.