What is VestaCP?
Vesta Control Panel (VestaCP) is an open source hosting control panel that can manage multiple websites, create and manage email accounts, create and manage FTP accounts. Also, manage MySQL database and DNS records. In order to manage a website, we take a lot of benefits from cPanel, but if we want, we can use VestaCP for our work. Now we will see how to install VestaCP on CentOS7.
How to install VestaCP?
If you are a Linux user, open your terminal, and if you are a Windows user then open PuTTY from your pc.
Step 1:-
First, log in to your server from "root" user.
Use the following command to check if your server is updated.
# yum check-update
If your server is not updated then update with the following command.
# yum update
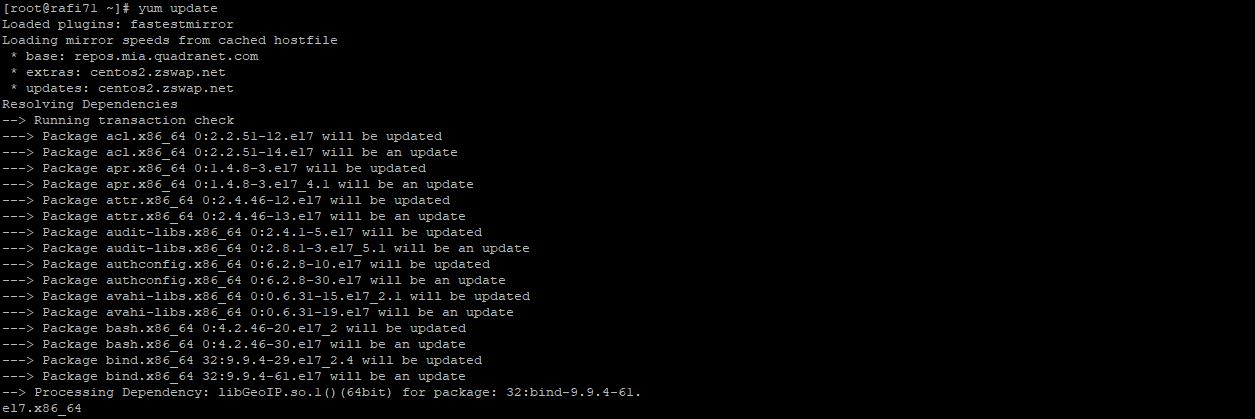
Output
Is this ok [y/d/N]: (press “y” and hit enter to update your server)
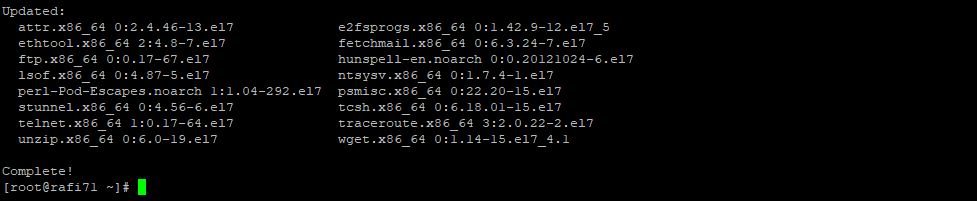
Wait a while for your server to be updated.
Step 2
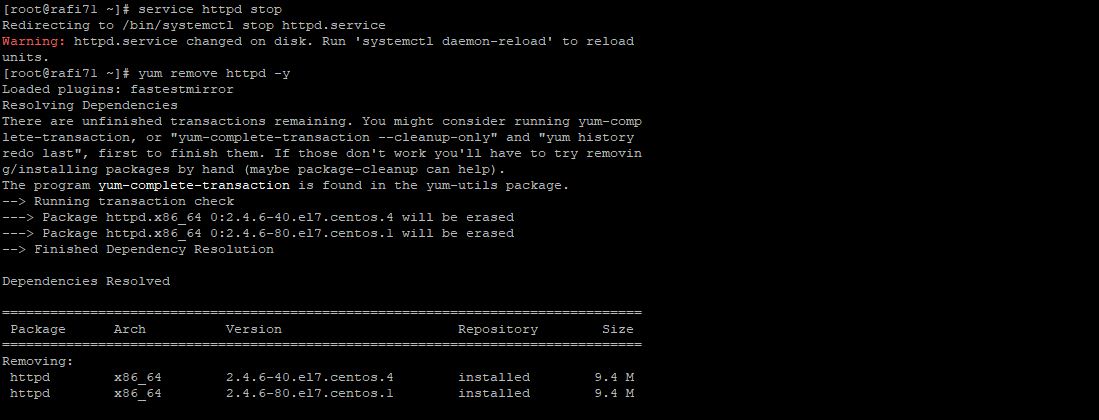
Remove Apache2/httpd
service httpd stop
yum remove httpd –y
yum clean all
Output
Loaded plugins: fastestmirror
Resolving Dependencies
--> Running transaction check
---> Package httpd.x86_64 0:2.4.6-80.el7.centos.1 will be erased
--> Finished Dependency Resolution
Dependencies Resolved
================================================================================
Package Arch Version Repository Size
================================================================================
Removing:
httpd x86_64 2.4.6-80.el7.centos.1 @updates 9.4 M
Transaction Summary:
================================================================================
Remove 1 Package
Installed size: 9.4 M
Downloading packages:
Running transaction check
Running transaction test
Transaction test succeeded
Running transaction
Erasing : httpd-2.4.6-80.el7.centos.1.x86_64 1/1
Verifying : httpd-2.4.6-80.el7.centos.1.x86_64 1/1
Removed:
httpd.x86_64 0:2.4.6-80.el7.centos.1
Complete!
Step 3
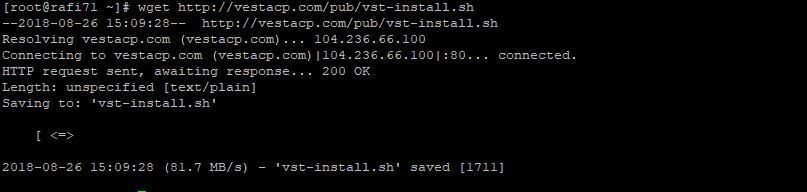
Download and install VestaCP
wget
http://vestacp.com/pub/vst-install.sh
Output
bash vst-install.sh
If this command does not work for any reason, then use the following command.
bash vst-install-rhel.sh --force
Output
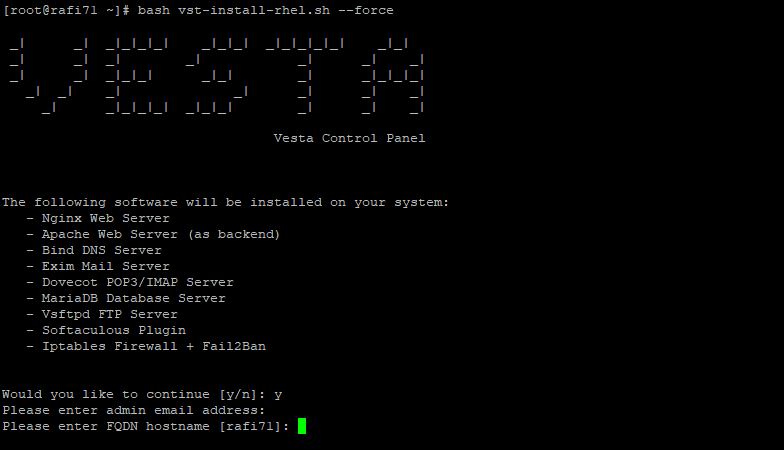
Would you like to continue [y/n]: (press “y” hit enter to install VestaCP)
Please enter admin email address: (your email address)
Please enter FQDN hostname [demo]: (your domain name)
Output
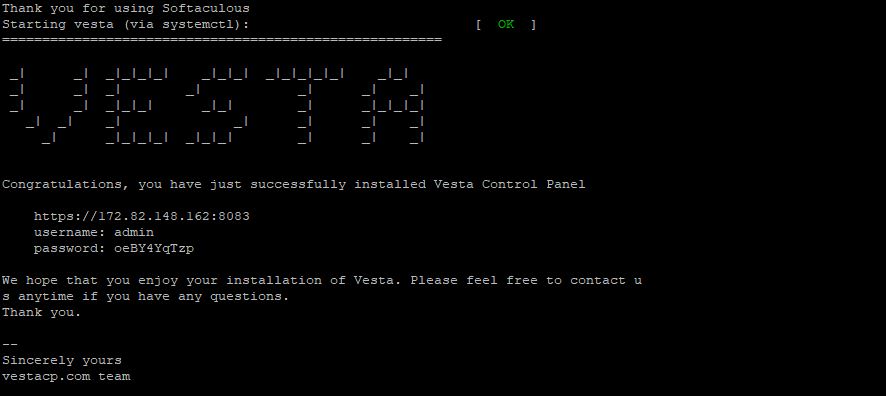
Congratulations, you have just successfully installed Vesta Control Panel
https://192.168.10.10:8083
username: admin
password: oeBY4YqTzp
Here are your login details, follow the instructions from here and log in to your VestaCP.
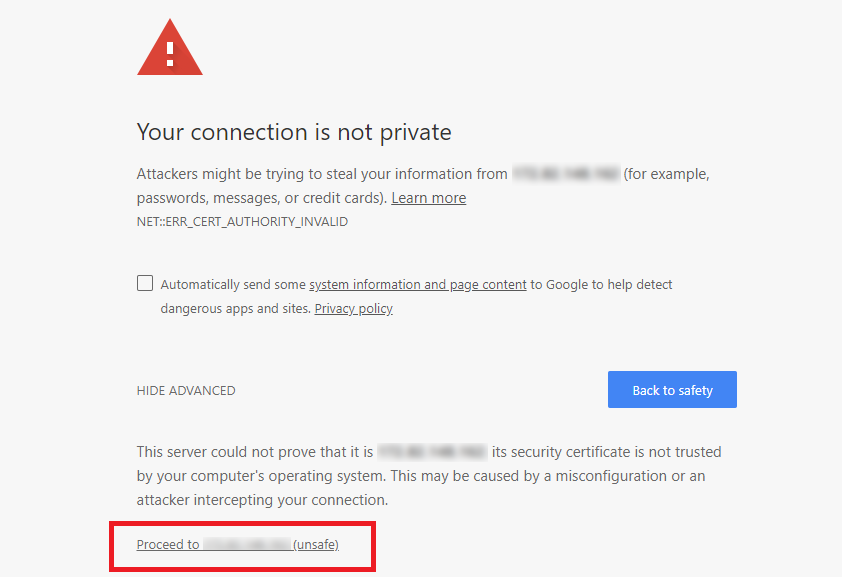
When you go to login VestaCP for the first time, the website will look insecure, you will have to go ahead by clicking Proceed to unsafe.
Now you will get your login screen and log in there with login information from your server.
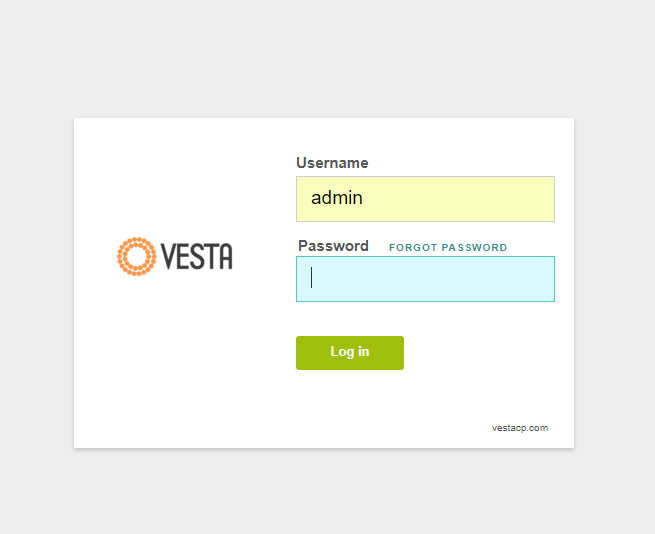
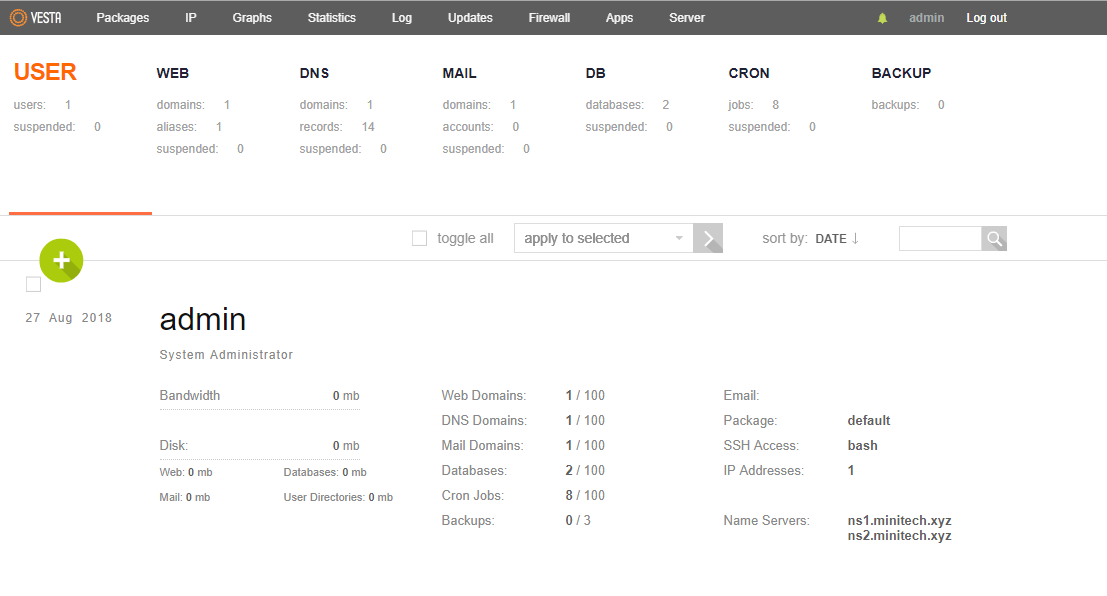
If you log in properly with your login information, you will see VestaCP dashboard like as the image below.